Quick answer
Turn the phone off, inspect the port with a light, and lift out loose lint with a dry wooden or plastic pick. Use only short bursts of compressed air if needed. Do not put metal tools, water, or cleaning liquid directly into the port.
A charging cable that will not seat firmly is often blocked by compacted pocket lint rather than a damaged port. The safest approach is slow and dry: remove debris from the port walls, not from the tiny contacts at the back.
Step-by-step
Power the phone down and unplug everything
Turn the device fully off and remove the charging cable. This lowers the chance of shorting a contact or triggering an unwanted connection while you work.
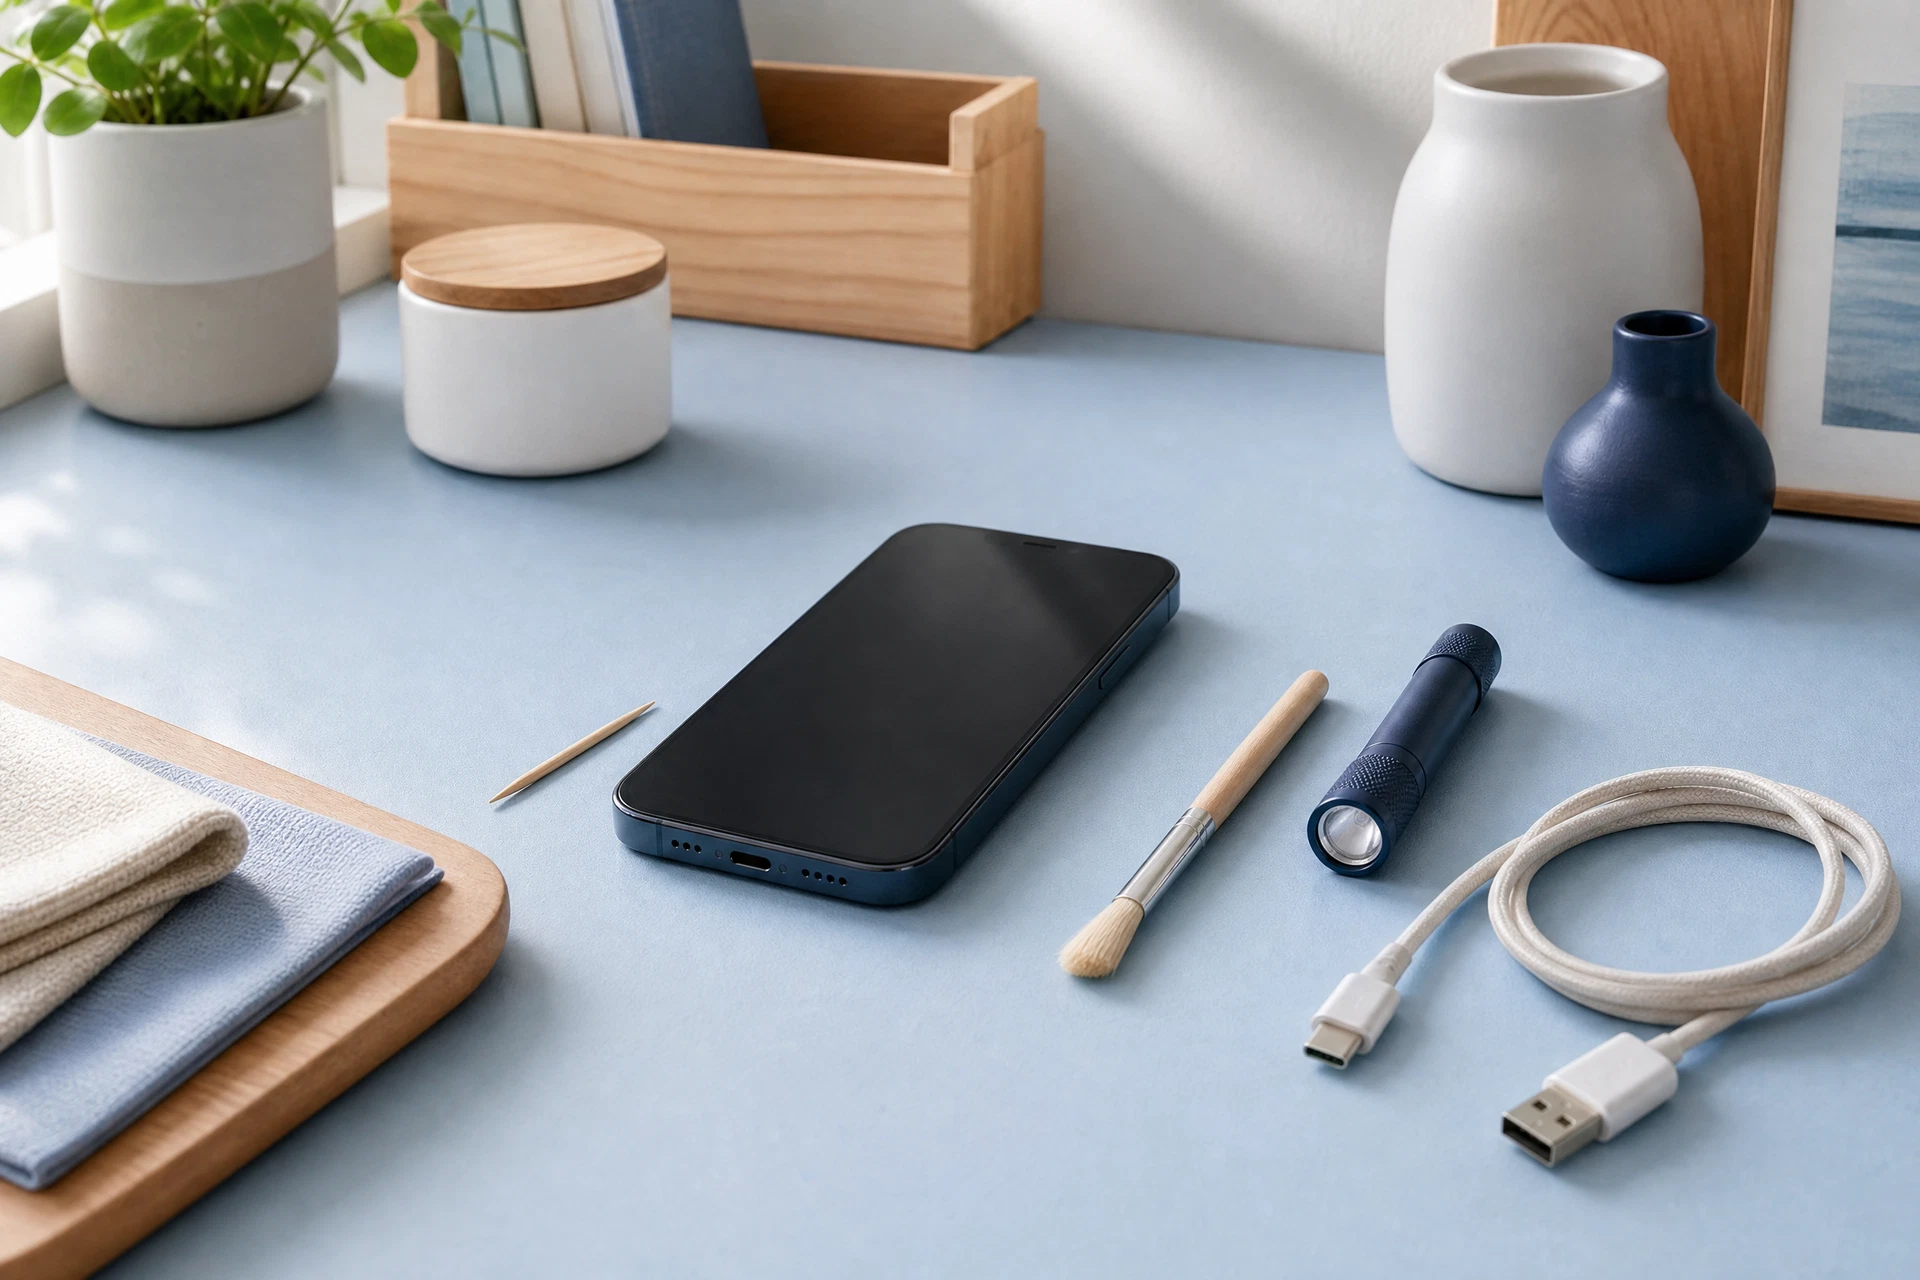
Set up dry, non-metal supplies
Use a bright flashlight, a wooden toothpick or plastic dental pick, and a clean soft brush. Keep metal pins, paper clips, needles, wet wipes, and liquids away from the port.
Look before touching the port
Aim the light into the opening and identify where lint is packed. Work from the sides outward rather than pressing a tool straight toward the back of the port.
Loosen lint in small passes
With very light pressure, trace the inner wall of the port and lift debris toward the opening. Pause after each pass; force is more likely to damage a contact than remove lint.
Clear loose dust with controlled air
If debris remains, hold a compressed-air can upright and use one or two brief bursts from a short distance. Let the port settle before inspecting it again.
Inspect, restart, and test the connection
Make sure no loose fibers remain, turn the phone back on, and connect a known-good cable without pushing hard. The plug should sit normally and charging should begin consistently.
Helpful tips
- Use a flashlight every time; lint can look like a shadow until the port is well lit.
- Clean a case opening too, since debris at the edge can be pushed back into the port.
- If a cable feels loose only with one charger, test another cable before assuming the port is the problem.
Common mistakes
- Scraping with a paper clip, pin, or knife.
- Spraying liquid or alcohol directly into the opening.
- Pressing a pick against the back contacts instead of lifting debris from the side walls.
Before you continue
- Stop if the port looks bent, corroded, burned, or physically loose.
- Do not keep forcing a cable into a port that still will not accept it after a gentle clean.
When the first attempt does not work
The phone still does not charge after cleaning. What should I test next?
Try a different certified cable, adapter, and outlet first. If the phone only charges at a certain angle or the port looks damaged, stop using that connection and arrange professional repair.
I cannot see any lint, but the cable will not click in.
Remove the case and compare the cable fit. A case edge, cable wear, or a damaged connector can create the same symptom; do not probe deeper just because debris is not visible.
Continue with a related guide
Questions answered
Can I use compressed air to clean a phone charging port?
Short, controlled bursts can help move loose dust, but they do not replace gentle manual removal of packed lint. Keep the can upright and avoid prolonged spraying.
Why does a phone charging port collect lint so quickly?
Pockets, bags, and cases carry fibers that compress each time a cable is inserted. A case with a covered port can reduce repeated buildup.
How often should I clean the port?
Only when a cable starts fitting poorly or charging becomes unreliable. Routine inspection is safer than frequent scraping.
This guide is general informational content. It does not replace professional advice for legal, medical, financial, safety, or other consequential decisions.